Depicter cache hit.
We no longer support Internet Explorer. Using another browser will help protect your accounts and provide a better experience.
Supported browsers: Chrome, Firefox, Edge, Safari
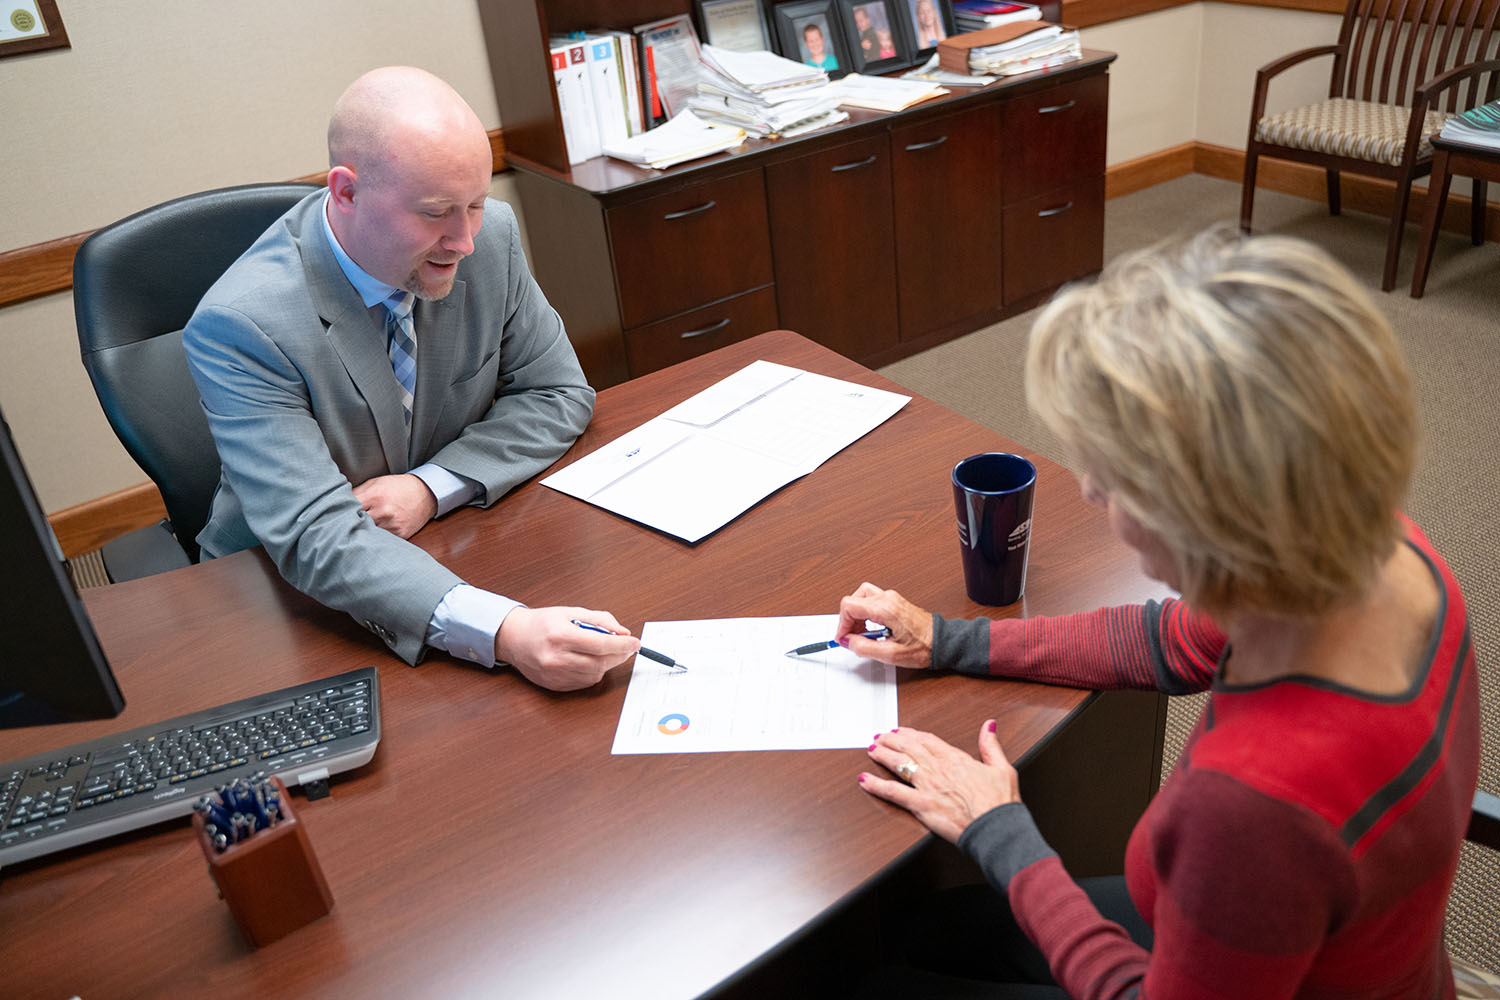
For all of your Consumer Lending needs Contact Tavia, Lacey, or Kailee at 701-774-4161 or email consumerlending@asbt.com

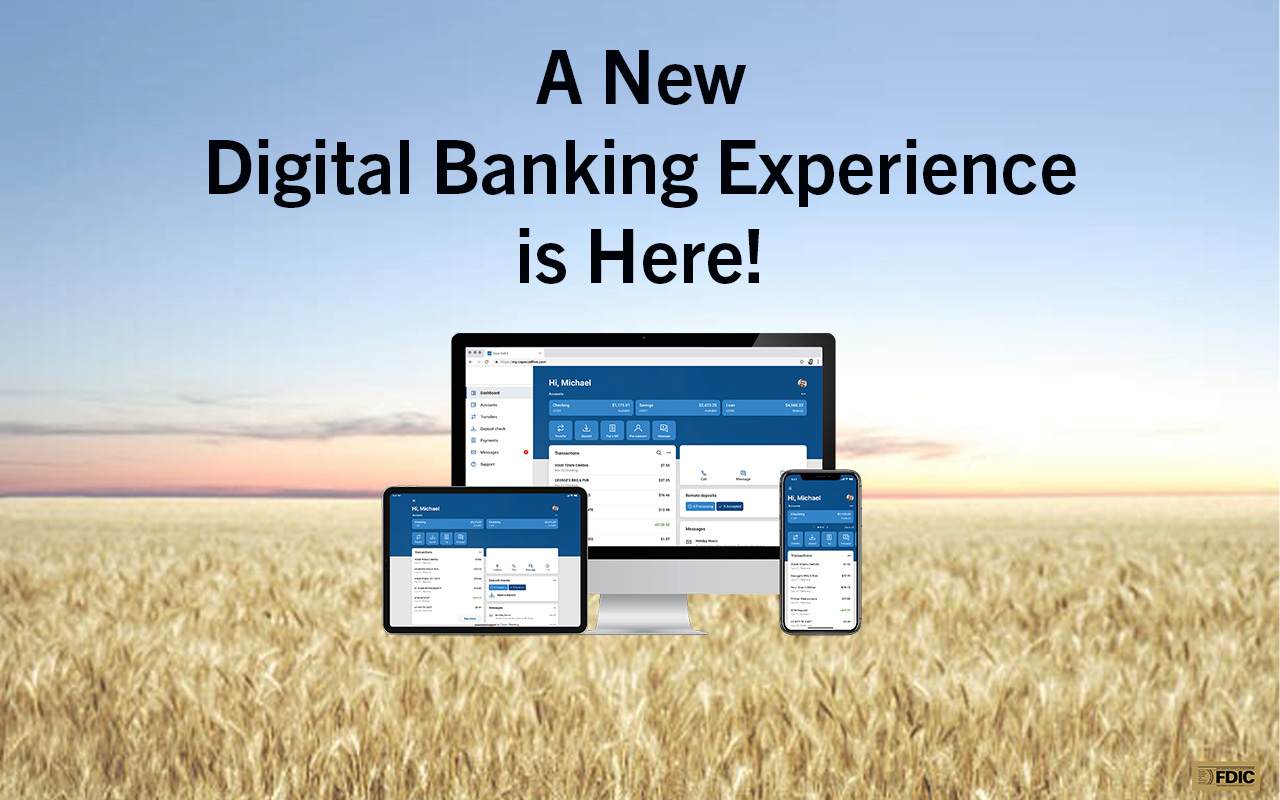
Try out Digital Banking for convenient, 24/7 access to ASB&T services
Learn more and sign up for our ASB&T VISA Gold Reward Card Today!

Discover how ASB&T can help your community-minded enterprise grow.

Explore how ASB&T can help expand your services to the next level.

Learn how ASB&T helps our customers achieve their financial goals.